Mermaids and waves for a fun summer card
Hello and thank you for visiting my blog. For this card I played around with Nuvo Embellishment Mousse, Hero Arts sand embossing powder and layering die cuts to create some texture on this scene card. This card was relatively easy to put together once each of the components was built. For the colored die cuts, I actually colored those over a year ago and pulled them out of my stash for this card. Please read on for how I built each of the card components and put them together for a fun summer thank you card. Some items used to make this card are listed at the end of the post. If you would like to build this card and purchase items through these links, I may receive a small commission. Thank you for your support.
Building the waves
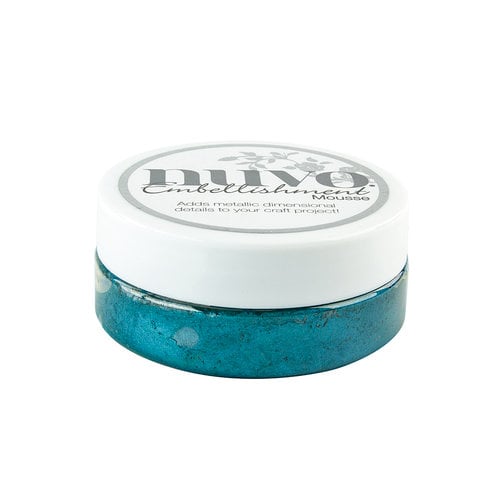
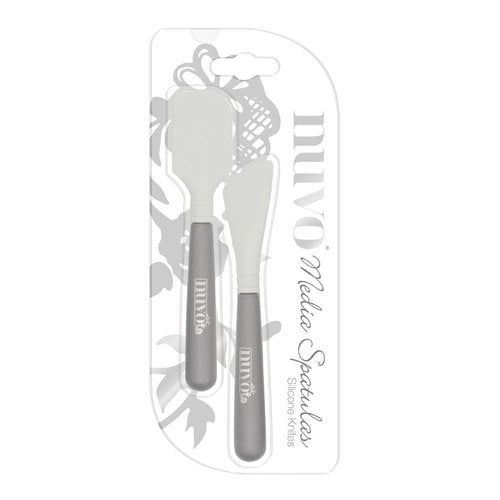
I recently got my hands on some Nuvo embellishment mousse in Pacific Teal which is a pigmented paste. This product has a creamy and lightweight consistency like whipped butter. Using the Hero Arts ocean waves stencil and a spatula, I applied a thick layer to a piece of Neenah solar white 80lb cardstock. After the mousse was dry, I cut out part of the wave to use as a base for my scene card.
Building the texture
Texture on a card gives dimension, interest and detail. To build that texture, I started with background paper from my stash. The wave stenciled piece had too much contrast against a white background so I found a piece of blue textured cardstock with a nautical design on it in my stash. Then I found some mermaids and sea elements for the My Monthly Hero Kit August 2017 (sold out) I had previously colored using Tombow markers. To ground the mermaids, I needed some beach so I cut out a hill using SugarPea designs Card Front Element Builder dies. I then added Versa Mark ink to the paper and then Hero Arts sand embossing powder which when it melts is smooth but gives the appearance of granular sand.
Building the scene
On a top folding Neenah solar white 110lb A2 card base, I adhered the piece of patterned paper using Nuvo glue. I then dry fit the wave piece and the beach piece. Once I liked the placement, I adhered those with the same glue. Next was the mermaid and ocean critter die cuts. Two I popped up with foam dots from Gina K designs. Others I tacked down with Ranger multi medium matte glue. I used Hero Arts cloud infinity dies to cut a cloud out of vellum on which I stamped a sentiment from the Hero Arts My Monthly Hero Kit using Staz On ink. Staz On will dry quickly on the vellum and not smudge. To adhere the cloud, I added some multi media matte glue onto a part of the cloud that would tuck behind the mermaid. I also added a few drops and then on top of the cloud where those dots showed through, I added Honey Bee rhinestone gems to cover the glue dots and add some shine to the scene as well. This card is now ready to make someone’s day.
For your convenience, supplies are listed below. Affiliate links are used at no cost to you. Thank you for your support.
Comments are closed.
|
AuthorWelcome to Seven's Crafts and thank you for stopping by. I am a mom, teacher and avid paper crafter. I hope these posts will leave you feeling inspired and ready to do some crafting. Archives
November 2021
Categories
All
|









 RSS Feed