Watercoloring basics and beyond
I’ve been playing around with water color for a little less than a year. I like the look but have trouble with the messy aspect of it. In Altenew’s class, Watercoloring Basics and Beyond, the instructor discussed the importance of letting the paint mix and blend freely. The last lesson encouraged free hand watercoloring without using stamps. When I watercolor, I typically just color in a stamped image. Watercoloring without having the stamped image as a guide freaked me out. In the spirit of just trying this out and learning something new, I decided to go for it. The class is designed to showcase the Altenew Watercolor Pan set. I don’t have this watercolor set so I used ink from the Altenew Watercolor Brush Markers instead. These markers are vibrant with rich colors. Please read on for how I put together this card. Affiliate links are used in this post. If you decide to purchase through these links, I may receive a small commission at no cost to you. Thank you your support.
Can I do this?
The first step in assembling this card was to get over my fears. The instructor talked about painting flowers using dots, lines and dashes. She mentioned that there are so many odd forms in nature that even if I were to create a different form that doesn’t look like a flower or leaf there probably is a flower or a leaf that looks like that somewhere. Armed with this confidence and knowledge that I could just throw this out if it didn’t come out OK, I chose my color palette. I decided to go with reds, yellows and oranges for the flowers and picked out a few different greens for the leaves. The Altenew Watercolor Brush Marker colors I chose for the flowers were: Ruby red, Rouge, Warm sunshine, Autumn blaze and Midnight Violet. For the greenery, I selected Limeade, Mountain mist and Moss. Persian blue and Espresso rounded out the color choices.
Building the card
On a piece of Tim Holtz watercolor paper, I stamped the sentiment "sending love and hugs" from the Adore You stamp set. Using a flat brush I then added water followed by Persian blue ink to draw that color from one side of the sentiment to the other creating a wash of color.

I started to build the flowers by laying down ink from the Altenew Watercolor brush markers in a C shape. I then took a small round brush and using clean water drew that color out from the center allowing the dark to stay in the middle and the light to go the outside. While the flower was still wet I added a darker color in the middle to keep that gradient. I then started to fill in the space around the sentiment with leaves and other flowers. This started to look like a hot mess but I just kept going and adding shadows, shading and allowing the colors to just kind of mix. I added dots, dashes and lines or whatever shape was in my imagination. I added berries with ruby red and flower clusters with different colors by just stippling onto the paper.
Final Details
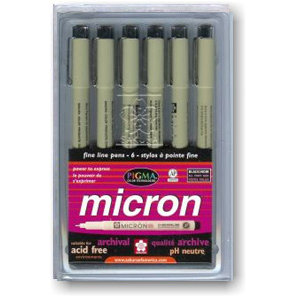
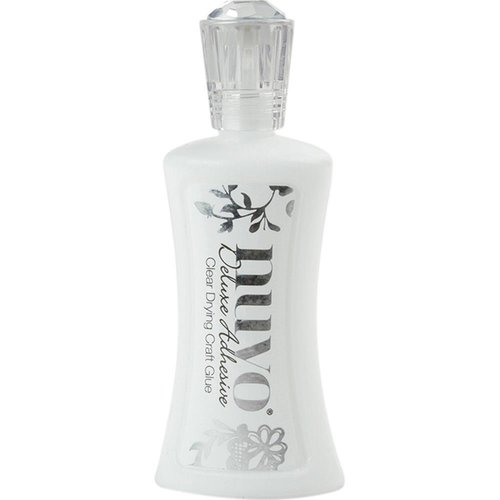
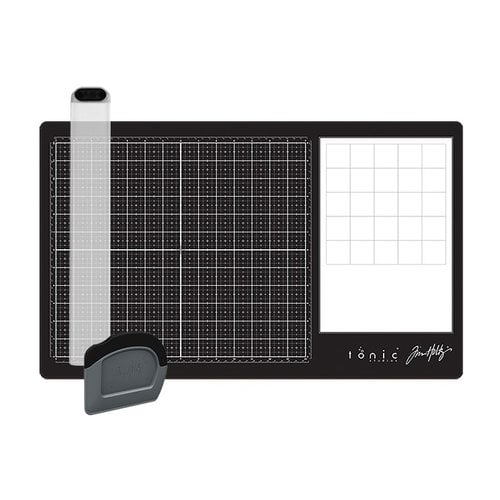
Using a micron 01 pen and the Tim Holtz glass mat straight edge, I drew a box around the sentiment, added some details to some of the flowers. I also used Persian blue and Espresso to spatter the background. I then cut down the panel to 3 3/4" tall x 5 1/2" wide and added a line of gold from a Krylon gold marker. I then used Nuvo liquid adhesive to adhere the panel to an A2 card base made from 110lb Neenah Solar White card stock. To highlight the panel I added a strip of gray textured cardstock and three Honey Bee Stamps Clear sequins. For a rustic touch, I tied a string of burlap around the top of the card.
Thank you for joining me today. I hope this post inspired you to go outside your comfort zone and try something new. Let me know in the comments below what technique or medium you want to try. Have a crafty day!
For your convience, supplies are listed below. Affiliate links are used at no cost to you. Thank you for your support.
3/13/2019 06:53:26 am
This is just perfect!! I love that even though you were a little apprehensive about it, you continued on! You make me so proud, Amy!
Amy/Sevenscrafts
3/14/2019 07:31:28 pm
Hi Erum. Thank you for all the support and feedback. Comments are closed.
|
AuthorWelcome to Seven's Crafts and thank you for stopping by. I am a mom, teacher and avid paper crafter. I hope these posts will leave you feeling inspired and ready to do some crafting. Archives
November 2021
Categories
All
|


 RSS Feed